
Here is the recipe for the coffee cake I made for Edinburgh Cake Ladies East West Cake Event this January. It’s based on the coffee cake recipe from Ballymaloe’s 12 Week Professional Cookery Course. Unlike most Ballymaloe recipes where vanilla extract is used and never essence, this uses coffee essence, (really chicory). Camp is the most common brand in the UK. I love cooking with things like this, it's one of those ingredients that feels really nostalgic and old fashioned to use. I suppose it's the same as when people buy golden syrup in a tin instead of those practical plastic bottles. The cake itself is really intense and coffee-ish, even though the sponge on it's own has a quite delicate flavour. You can decorate it how you like, add chocolate curls and bitter cocoa or keep it simple.
.JPG) |
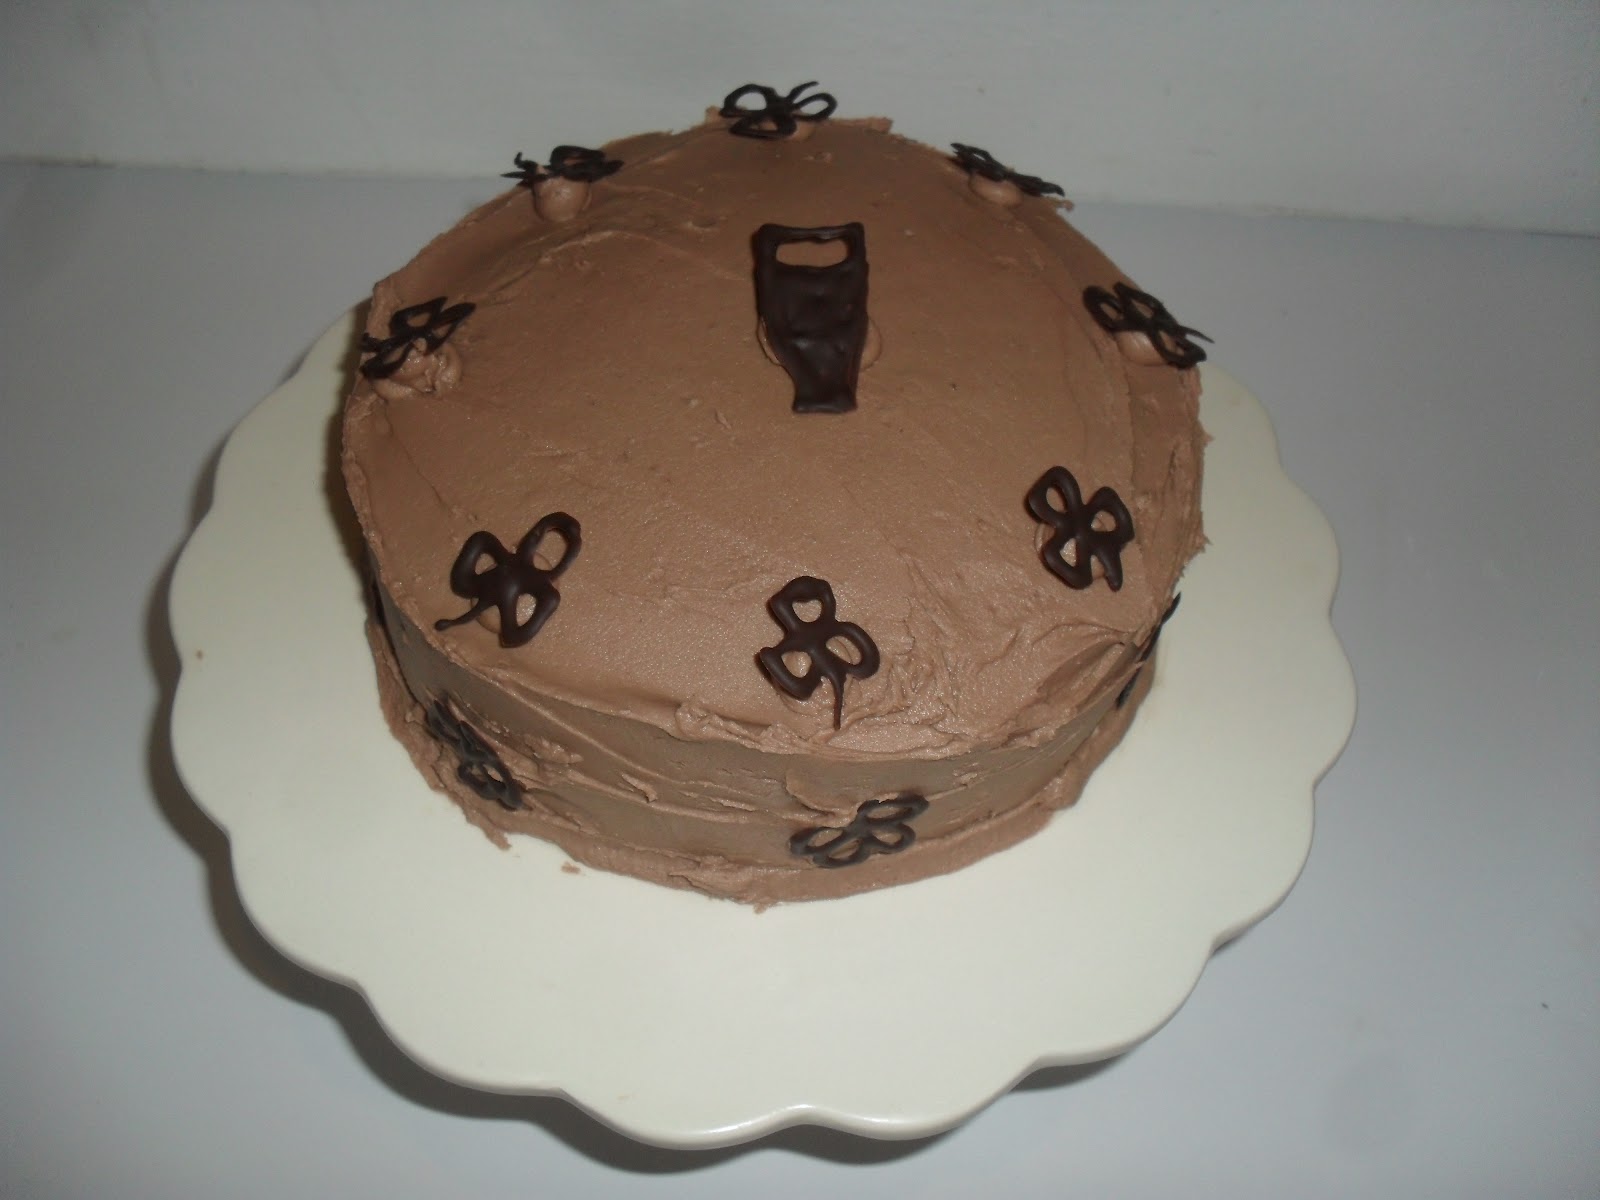
| My version |
This is the recipe from Ballymaloe, I have multiplied the cake ingredients by 50% to make three thick layers from the original two, as I wanted to give the cake more height for the East West Cake theme, 'showstopper cakes'. I did the same for the coffee icing ingredients. The butter cream is increased by 100%. To decorate I added cocoa, chocolate curls and some gold sugar decorations.
Coffee Cake
12oz soft butter
12oz caster sugar
6 large eggs (preferably organic)
12oz plain white flour
11/2 tsp baking powder
2 tbsp Camp coffee essence
Coffee Butter Cream
4oz butter8oz icing sugar
4 tsp Camp coffee essence
Coffee Icing
11/2 lb icing sugar
3 tbsp Camp coffee essence
Boiling water
To decorate (all optional)
3 oz walnut halves
2 oz dark chocolate
2 tbsp cocoa powder
Gold cake decorations
Tins
2 or 3 x 8in round sandwich tinsA note on logistics - I only have two sandwich tins, so made this in two batches. I made two thirds of the cake mixture up first, poured it into the two tins and baked them. Once they were cooked and the cakes cooling, I made up the smaller second batch to fill one tin. I also have a gas oven, with only enough room on one shelf for two tins. If you have enough tins and enough shelf space, two ovens or a fan oven enabling you to cook on multiple shelves you can make the cake in one go.
You can't make it all in one go and then keep a third of the batter back while you wait for the first two to cook as the raising agent will have started to react and the cake won't rise when you eventually bake it. You will also get holes on the top of the cake as it will not have been put into the heat of the oven quickly enough. You could just cook it with two layers, decreasing the ingredients as above, it will still look impressive as per Ballymaloe here:
 |
| Pam's coffee cake from Ballymaloe demo, how I would love to have an oven like theirs! |
Right, on with the recipe!
The cake
- Preheat the oven to 180C/350F/Gas Mark 4
- Line the base of the tins with greaseproof or silicon paper. Brush the sides with melted butter and dust with flour
- Cream together the butter and sugar, by hand using a wooden spoon or in a food mixer (I use a Kenwood Chef, using the K beater). I recommend a mixer as you need to really beat the butter and sugar till it is pale and fluffy. If you think it's ready still beat it a bit more!
- Whisk the eggs and add to the mixture bit by bit, mixing well between each addition
- Sieve the flour with the baking powder and stir gently in by hand. Don't over beat the mixture here, almost fold it in with your spoon.
- Finally add the coffee essence and mix in, again fold it in gently.
- Divide the mixture evenly between the prepared tins, paddling it round with a metal spoon (you can use an electric scales if you're that way inclined for a perfect split)
- Bake for 30 minutes, till the cakes are firm and springy in the middle as well as the sides.
- Rest in the tin for a minute or two, then turn out onto a cooling rack.
- If you are making it in two batches, repeat steps 1-9 above from scratch.
- While it's in the oven melt the chocolate for the chocolate curls over simmering water. Pour over the back of a plate or baking tray and leave somewhere cool.
- Make the coffee butter cream. Sieve the icing sugar into a large mixing bowl - yes this takes a lot of time but really does give a better result.
- Whisk the icing sugar with the butter, by hand or machine, as it starts to come together add the coffee essence. Continue to whisk till light and fluffy. Cover with cling film till ready to use.
- When the cakes are cooled sandwich together the sponges with two layers of icing, evening them out with a bread knife if need be. Have enough cream to fill in the sides to give a straightish line for the icing.
Decoration
- One the cake is assembled make the icing. Again sieve the icing sugar, add the coffee essence and then enough boiling water to make it the consistency of double cream. Add the water sparingly, not too much in one go or you will be back and forth adding more sugar and liquid all day to get it right!
- Pour icing over the top and paddle it out and down over the sides, smoothing it with a palate knife. Work quickly or do it in batches, patching it up where needed as the icing can slide down the cake before it dries.
- Add walnut halves around the bottom of the cake to decorate, they will hold to the icing. You can also use hazelnuts as they do at Ballymaloe.
- Once the icing has started to set sieve the cocoa powder over the top. If it's set a bit you can dust off any that has stuck to the sides for a neater finish. You could also combine the cocoa with some fine espresso/instant coffee powder.
- Scrape the chocolate curls from the plate/tin, using a wide Parmesan slice. Try and take long confident sweeps. If the chocolate is too hard or too soft put it somewhere warmer/colder for a bit. It will soften quickly so you may need to wait and do two batches. I hold my hands under a freezing tap as long as possible to stop the chocolate melting, it helps but it hurts! The curls don't need to be perfect as they're all piled on the top, but a bit of practice and they can start to look surprisingly good.
- Pile the chocolate curls on the top with the gold cake decorations.
 !
!


